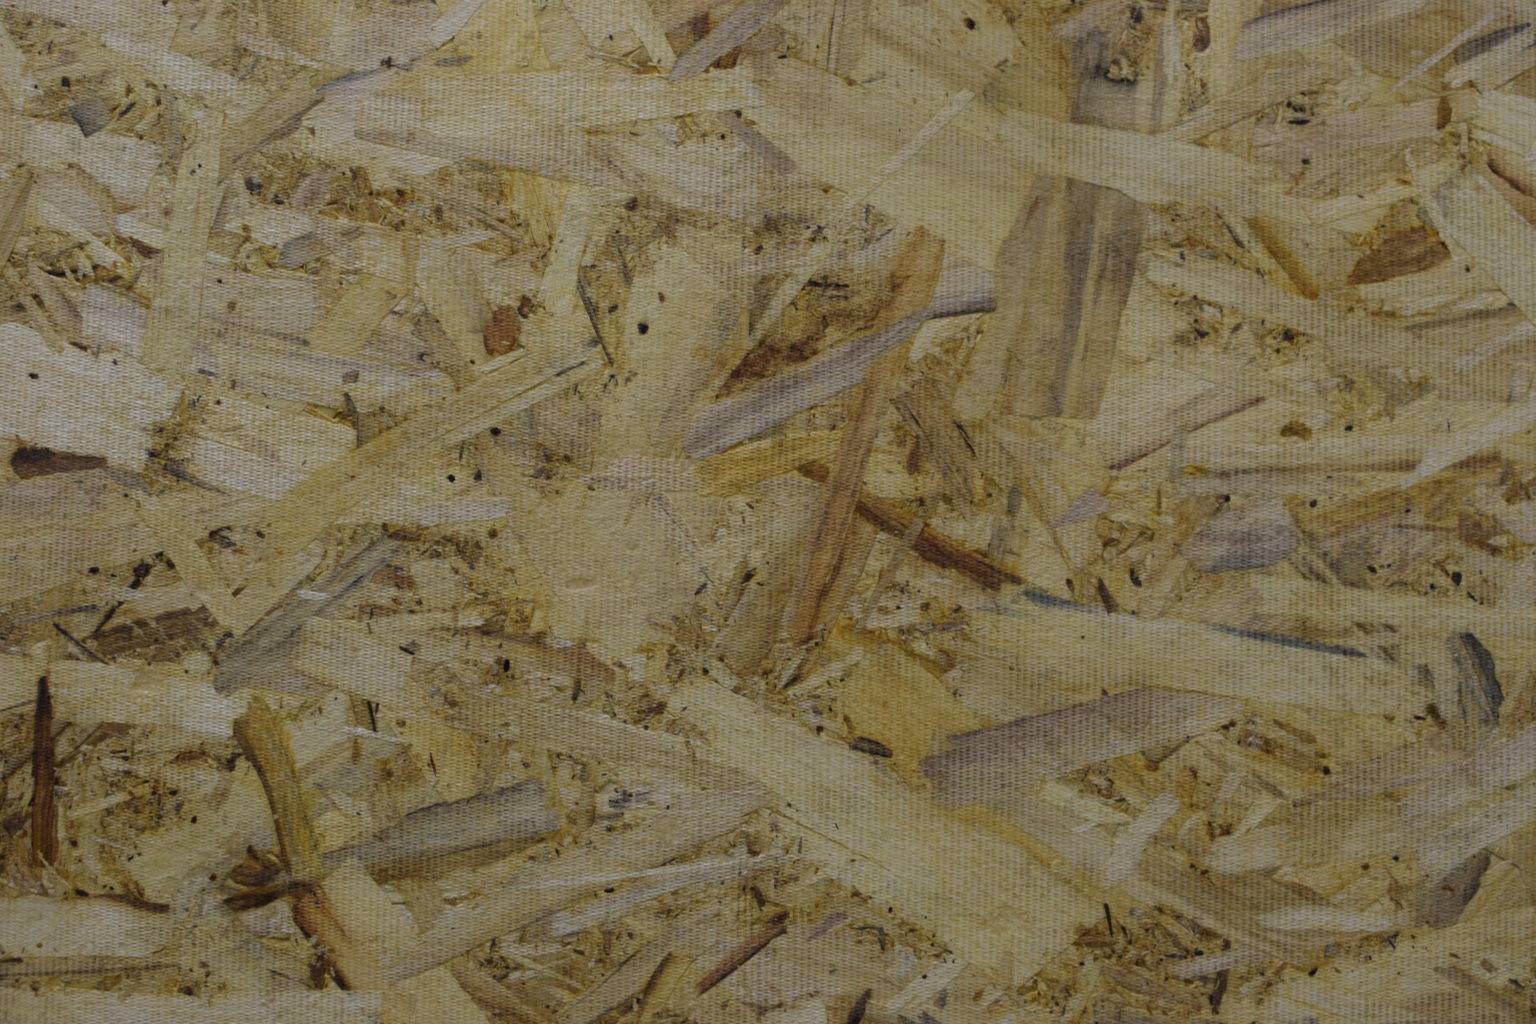
Preparing Plywood Cabinets for Painting: How To Paint Plywood Cabinets

Transforming your plywood cabinets from drab to fab requires meticulous preparation. A smooth, clean surface is the key to a professional-looking paint job that will last. This section will guide you through the essential steps to ensure your cabinets are ready for their stunning makeover.
Plywood Cabinet Sanding
Proper sanding is crucial for achieving a flawless finish. Uneven surfaces will show through even the best paint, leading to an unprofessional look. This process involves several steps using different grits of sandpaper to progressively smooth the wood.
- Start with 80-grit sandpaper: This coarse grit removes any major imperfections, like raised grain or previous finishes. Use a sanding block for even pressure and to avoid gouges. Work in the direction of the wood grain.
- Move to 120-grit sandpaper: This medium grit smooths out the scratches left by the 80-grit. Again, use a sanding block and maintain consistent pressure and direction.
- Finish with 220-grit sandpaper: This fine grit creates an ultra-smooth surface, ready for painting. Be gentle and thorough to ensure a uniform finish. Pay special attention to edges and corners.
- Clean thoroughly after each sanding stage: Use a tack cloth or a slightly damp cloth to remove all sanding dust. Leaving dust behind will compromise the adhesion of the primer and paint.
Plywood Cabinet Cleaning Methods
Before painting, it’s vital to remove any dirt, grease, or grime that could interfere with paint adhesion. Different cleaning methods are appropriate for various cabinet finishes.
| Cleaning Method | Effectiveness | Suitable for | Notes |
|---|---|---|---|
| Mild Soap and Water | Good for general cleaning and removing light grime. | Unpainted plywood, previously painted cabinets in good condition. | Use a soft sponge or cloth; avoid harsh scrubbing. Rinse thoroughly and allow to dry completely. |
| Degreaser | Excellent for removing grease and stubborn stains. | Cabinets with grease build-up (kitchens), previously painted cabinets with heavy grease. | Follow product instructions carefully. Ensure adequate ventilation and wear gloves. Rinse thoroughly and allow to dry completely. |
| TSP (Trisodium Phosphate) | Highly effective for deep cleaning and removing old finishes. | Cabinets requiring thorough cleaning, those with old paint or varnish. | Wear gloves and eye protection. TSP is a strong cleaner; follow product instructions meticulously. Rinse thoroughly and allow to dry completely. |
Tools and Materials for Cabinet Preparation
Having the right tools at hand makes the preparation process much easier and more efficient.
- Sandpaper (80, 120, and 220 grit): Different grits are needed for each stage of sanding, from roughing out imperfections to creating a smooth finish. The higher the grit number, the finer the sanding.
- Sanding Block: Provides even pressure distribution, preventing uneven sanding and gouges. Essential for achieving a smooth surface.
- Tack Cloth: Removes sanding dust effectively, leaving the surface clean and ready for painting. A must-have for a professional finish.
- Soft cloths or sponges: Used for cleaning the cabinets before painting. Choose lint-free cloths to avoid leaving residue.
- Cleaning solution (mild soap, degreaser, or TSP): The choice depends on the condition of your cabinets and the type of dirt or grime you need to remove. Always follow product instructions.
- Putty knife (optional): Useful for scraping off loose paint or other debris before sanding.
- Safety glasses and gloves: Protect your eyes and hands from dust and chemicals, particularly when using degreasers or TSP.
Choosing and Applying Paint to Plywood Cabinets

Transforming your plywood cabinets from drab to fab requires careful consideration of the paint itself and the application process. The right paint and technique will ensure a durable, beautiful finish that stands the test of time and countless kitchen adventures. Let’s dive into the details!
Paint Types for Plywood Cabinets
Choosing the right paint is crucial for a long-lasting, beautiful finish on your plywood cabinets. Different paints offer unique advantages and disadvantages, impacting both the look and the longevity of your project.
- Latex Paint: Latex paints are water-based, making them easy to clean up with soap and water. They typically have low odor and dry relatively quickly. However, they might not be as durable as oil-based paints, especially in high-traffic areas prone to scratches or moisture. They’re a great choice for a low-VOC, user-friendly option.
- Oil-Based Paint: Oil-based paints offer superior durability and are more resistant to scratches and moisture compared to latex paints. They provide a harder, more protective finish, making them ideal for kitchens and bathrooms. However, they have a strong odor, require mineral spirits for cleanup, and take longer to dry.
- Acrylic-Alkyd Enamel Paint: This type of paint combines the best of both worlds, offering the durability of oil-based paints with the easier cleanup of water-based paints. They boast excellent hardness and are resistant to moisture, making them a popular choice for kitchen cabinets. The drying time is quicker than oil-based paints, but slower than latex.
Primer and Paint Application Techniques, How to paint plywood cabinets
The method you choose for applying primer and paint significantly impacts the final result. Each technique offers unique advantages and disadvantages. Proper technique is key to avoiding brushstrokes, drips, and an uneven finish.
| Technique | Advantages | Disadvantages | Best For |
|---|---|---|---|
| Brush | Excellent control, good for detail work, relatively inexpensive. | Can leave brush strokes if not applied carefully, time-consuming for large surfaces. | Detailed areas, trim, and smaller cabinets. |
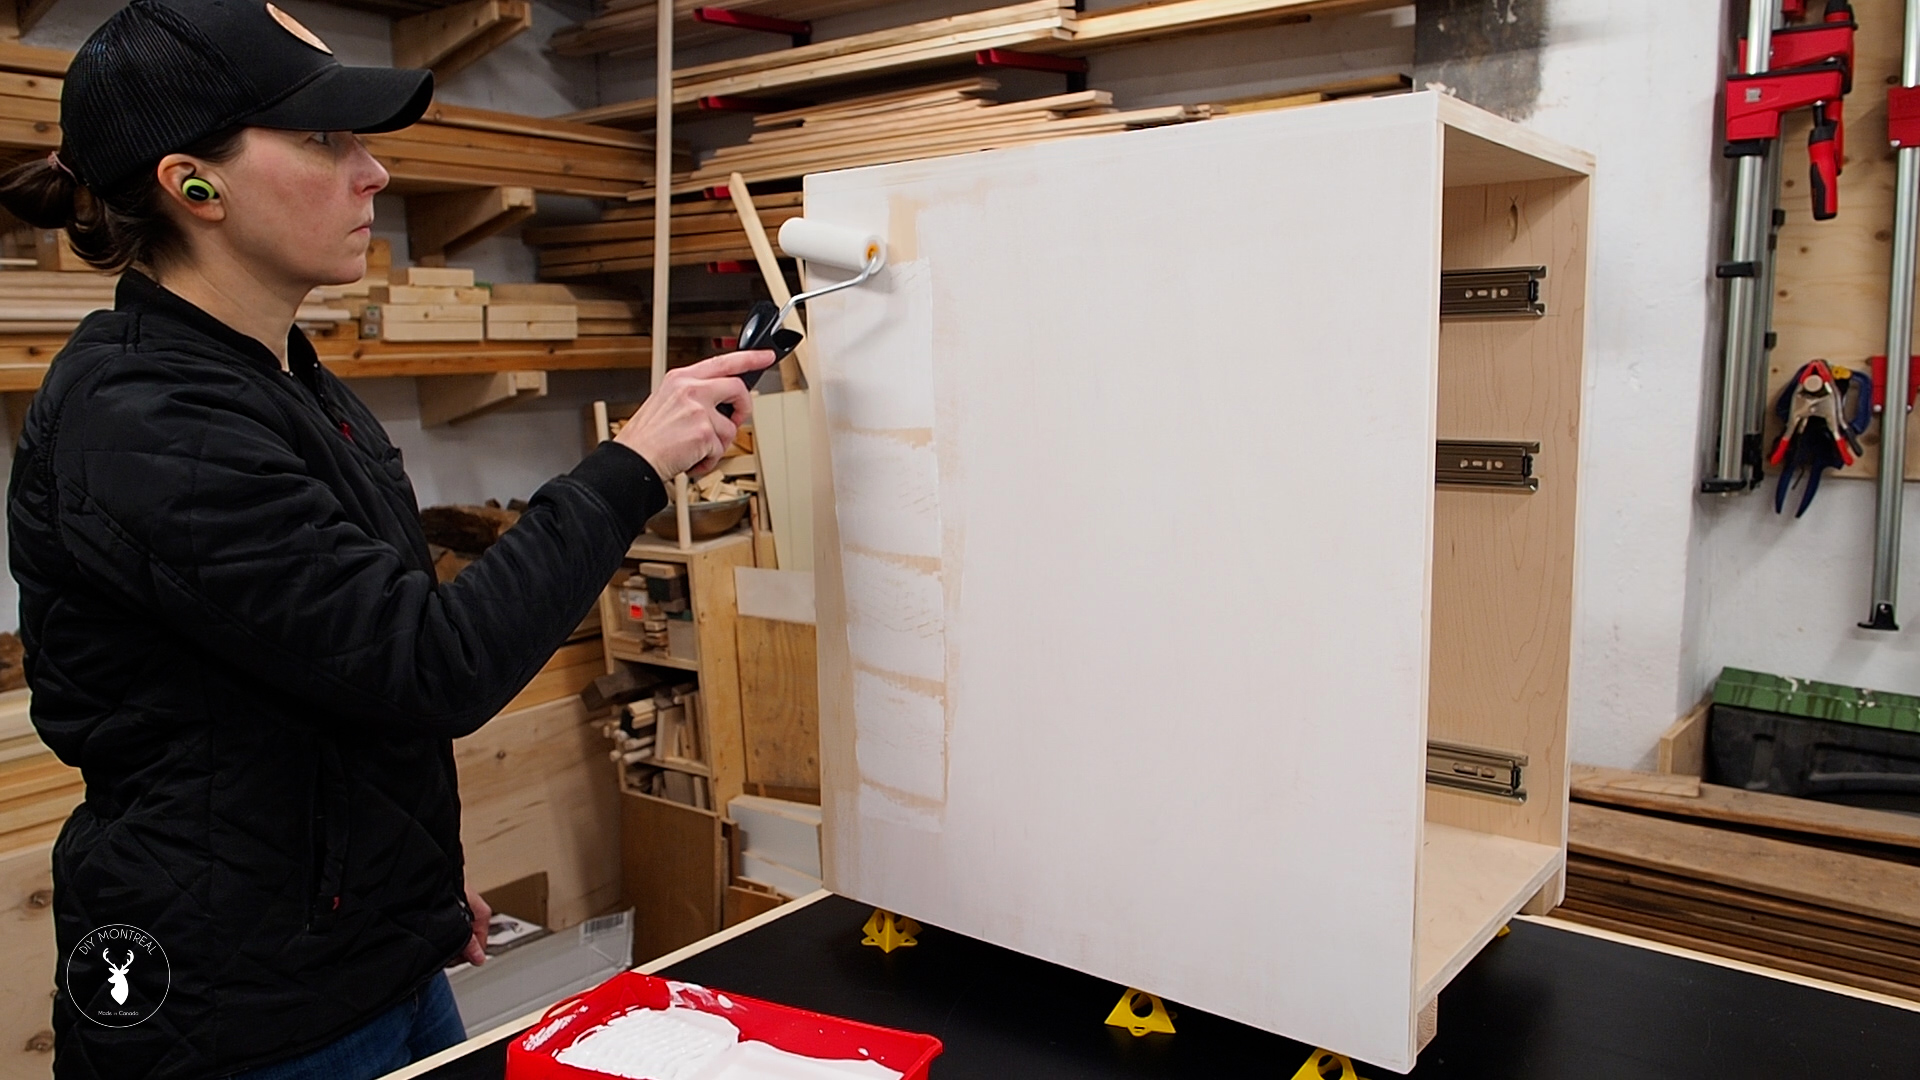
| Roller | Fast coverage, smooth finish for large surfaces. | Can leave roller marks if not properly used, less control in detail areas. | Large, flat surfaces like cabinet doors and panels. |
| Spray Painting | Fastest coverage, very smooth finish. | Requires specialized equipment, potential for overspray and runs, more expensive. | Large projects where speed and a smooth finish are paramount. Requires proper ventilation and safety precautions. |
Achieving a Professional Finish: A Step-by-Step Guide
Achieving a professional-looking finish on your plywood cabinets involves careful planning and execution. Here’s a step-by-step guide to help you avoid common pitfalls:
- Apply a high-quality primer: This is crucial for ensuring good adhesion and preventing the wood grain from showing through. Apply two thin coats, allowing each to dry completely.
- Sand lightly between coats: Gently sanding between coats of primer and paint will create a smoother surface, eliminating imperfections and ensuring a flawless finish. Use fine-grit sandpaper (220-grit or higher).
- Apply paint in thin, even coats: Avoid applying too much paint at once, as this can lead to drips and runs. Multiple thin coats are better than one thick coat. Allow each coat to dry completely before applying the next.
- Use proper brushstrokes or roller techniques: For brushing, use smooth, consistent strokes in one direction. For rolling, use a back-and-forth motion, overlapping each stroke slightly to ensure even coverage. For spray painting, maintain a consistent distance and speed.
- Address drips and runs immediately: If drips or runs occur, gently wipe them away with a damp cloth before they dry. Once dry, they are much harder to remove.
- Allow ample drying time: Allow the paint to dry completely before reinstalling the cabinet doors and drawers. This prevents accidental smudges or damage.
